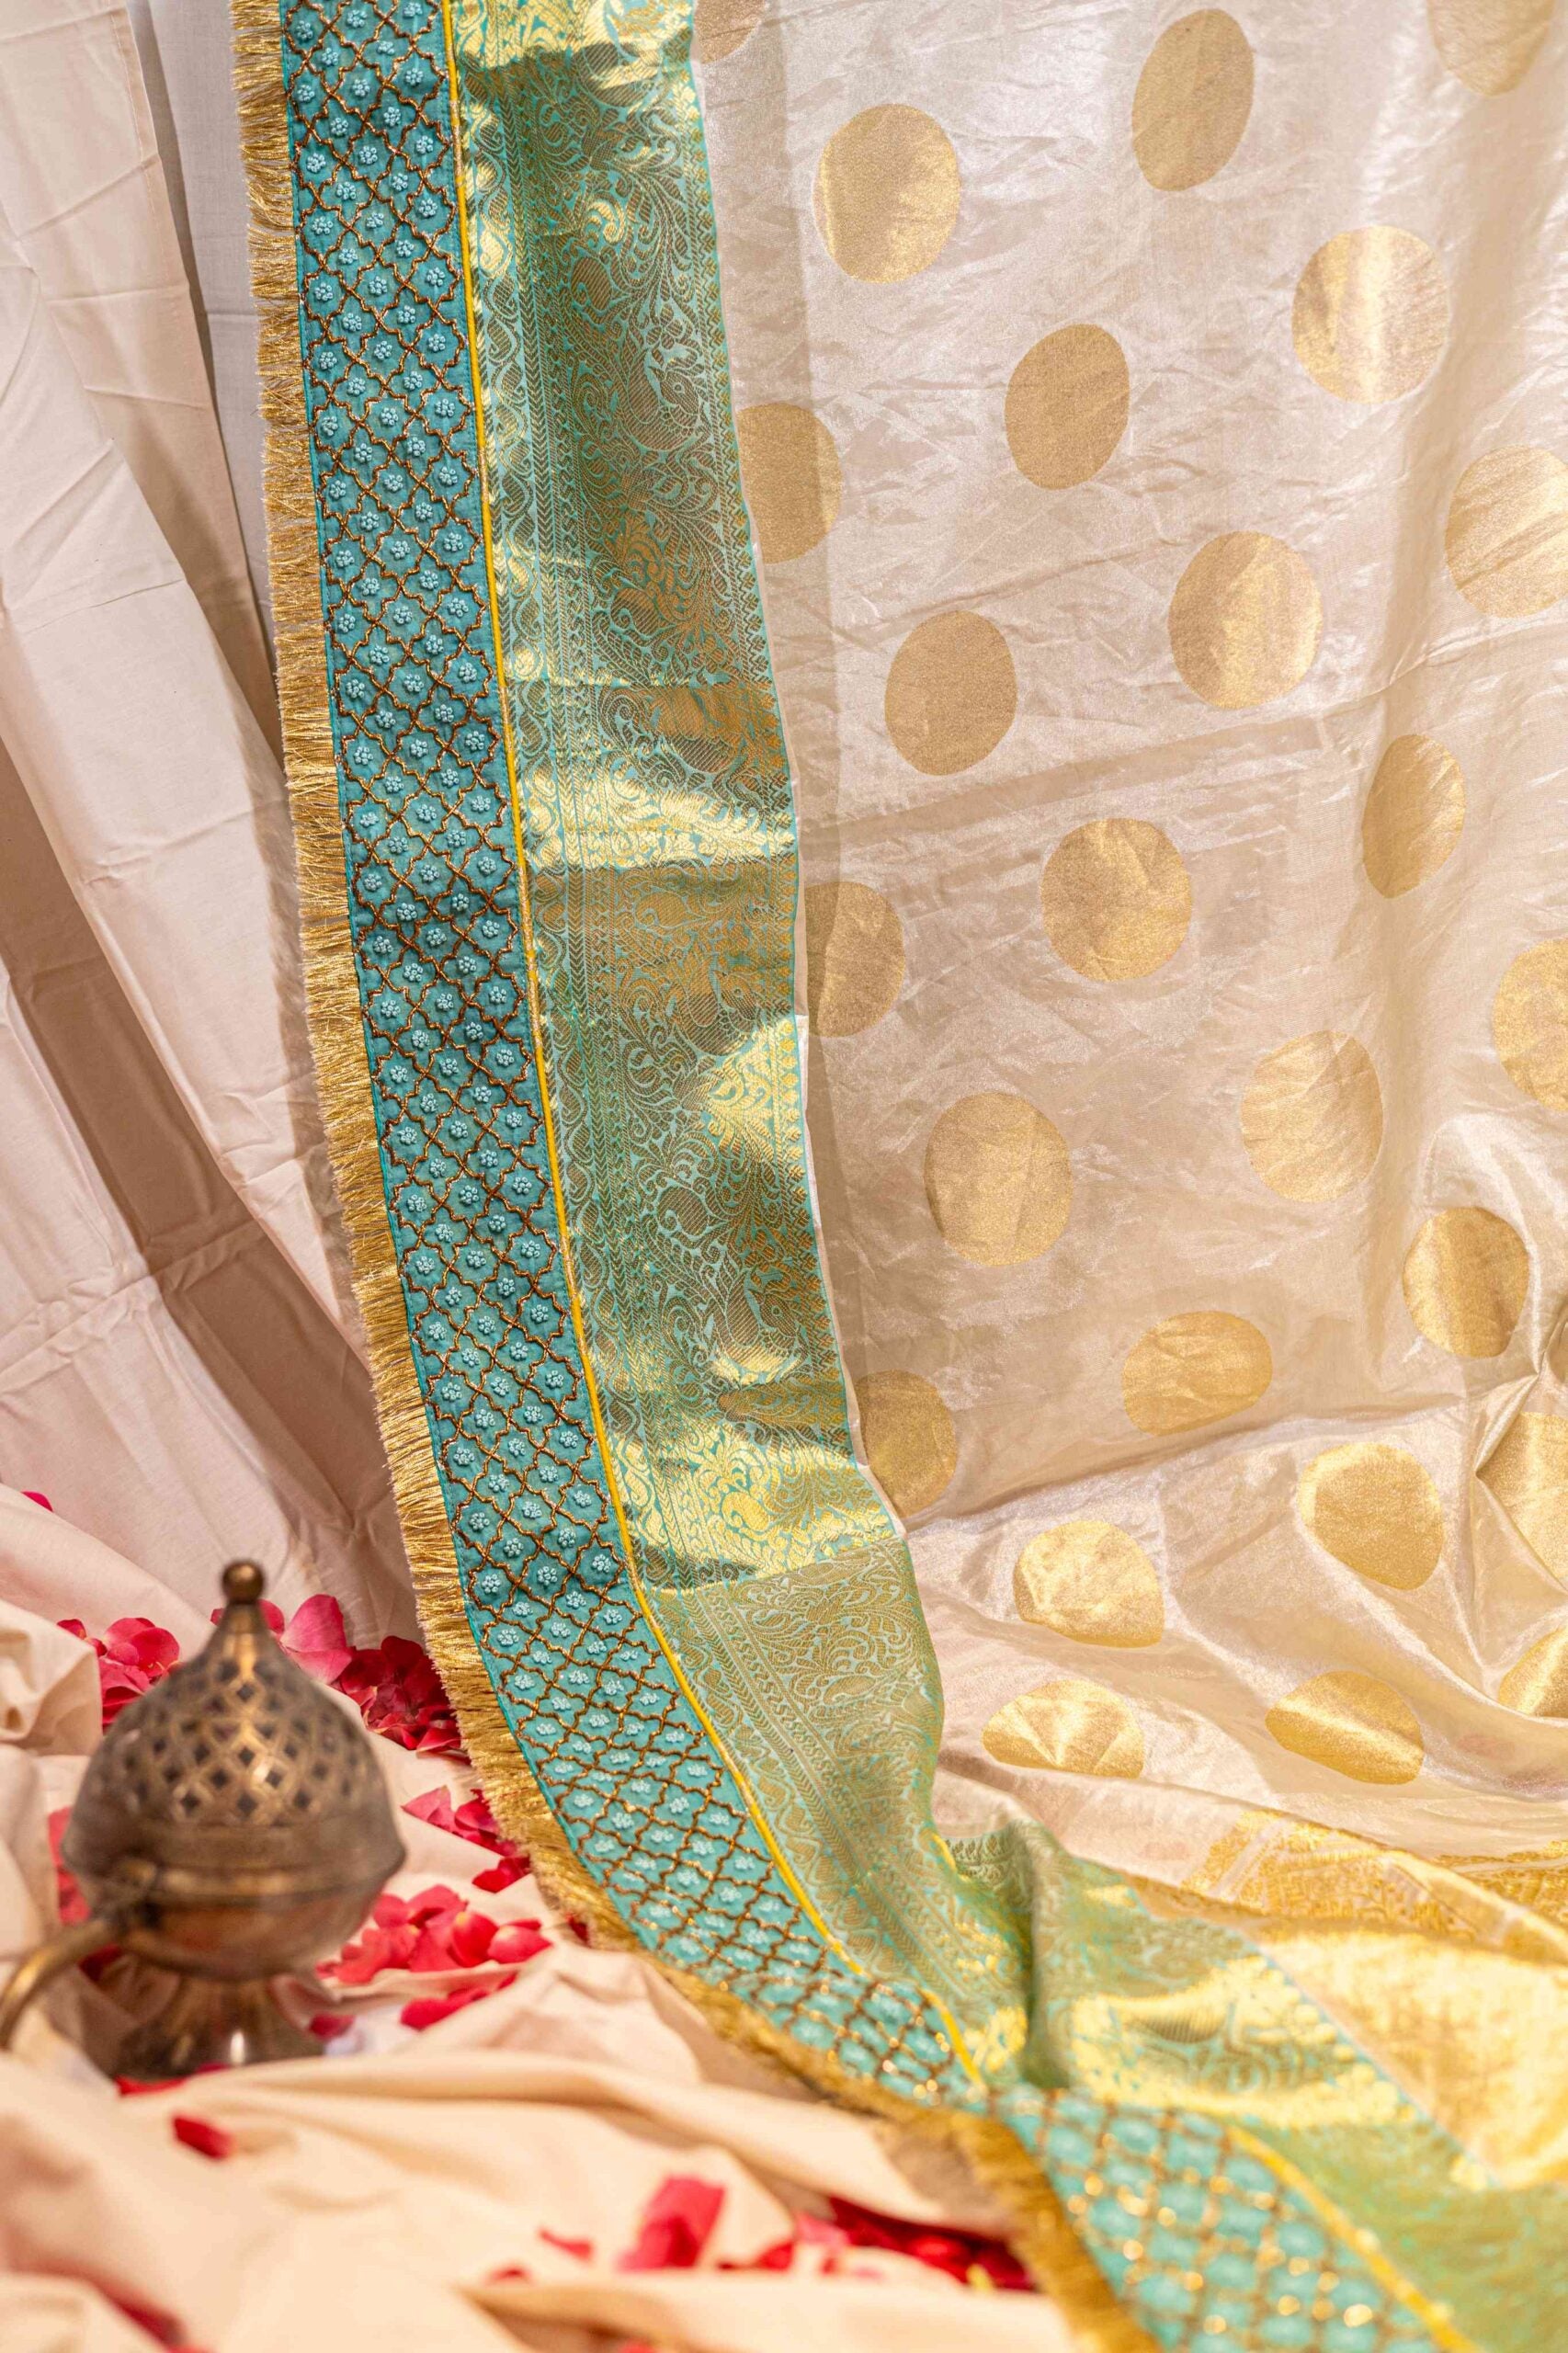
How to Finish Weaving on a Loom: A Beginner's Guide to Finishing Your Woven Masterpiece
Weaving on a loom is a truly rewarding experience, allowing you to create unique and beautiful textiles. From intricate wall hangings to cozy scarves, the possibilities are endless. But the journey doesn't end when you've painstakingly created your desired pattern; the final step is knowing how to finish weaving on a loom . This crucial process, often overlooked by beginners, determines the final aesthetic and structural integrity of your woven piece. In this comprehensive guide, we'll delve into the essential techniques for completing your weaving project, ensuring a professional and polished finish. So, let's unravel the secrets to a perfectly finished woven creation!
Preparing for the Finish: Necessary Tools and Materials
Before you begin the finishing process, gather your essential tools. This will make the process smooth and efficient. You'll need:
Sharp Scissors or a Craft Knife: For cleanly cutting the warp threads.
A Tapestry Needle or Yarn Needle: For weaving in loose ends.
A Crochet Hook (optional): Useful for pulling loops through and securing edges.
Measuring Tape: For accurate measurements.
A Ruler or Straight Edge: To guide your cutting and create clean lines.
Steam Iron and Ironing Board (optional): For blocking and setting your woven piece.
Fray Check or Fabric Glue (optional): For sealing edges and preventing unraveling.
Your Woven Piece and Loom: Of course!
Understanding Warp Thread Removal: The Cornerstone of Finishing
The foundation of any finished woven piece lies in the clean removal of the warp threads. The warp threads are the vertical threads on your loom that you initially wound. Understanding how to manage these threads effectively is critical. There are various techniques depending on your project and loom type. However, some common ways include:
Method 1: Tying-off the Fringe
This is an excellent option for pieces designed with a fringe.
1. Carefully cut the warp threads close to the woven fabric, about half an inch to one inch long (depending on the desired fringe length).
2. Pair up adjacent warp threads.
3. Tie an overhand knot at the base of the woven cloth.
4. Repeat these steps until you have knotted all your warp threads along the edge.
5. Trim the ends of the fringe to the desired length for a consistent finish.
Method 2: Weaving In the Ends
If you want a clean edge without a fringe, weaving in the ends of your warp threads is a good option.
1. Carefully remove your work from the loom.
2. Thread a tapestry needle with a yarn tail.
3. Using the tapestry needle, weave the warp ends back into the woven structure, making sure to follow the direction of the existing weft threads.
4. Be careful to avoid creating a visible ridge or creating tension in the weave.
5. Once you have securely woven in the yarn, trim the excess yarn close to the weaving.
Mastering the Edge: Securing Your Weaving
Once your warp threads are handled, it’s time to refine the edges. This step reinforces the structure and prevents unraveling.
For a Clean, Straight Edge: Use fray check or fabric glue along the edge to prevent unraveling. This is particularly useful for projects where a clean, neat finish is desired.
Creating a Decorative Edge: Crochet or use a needle to create a border around your weaving. This adds a touch of elegance.
Blocking for Perfection: The Final Polish
Blocking is a crucial step, especially for projects using yarn or fibers that may shrink or distort during the weaving process. Blocking sets the shape and defines the final dimensions of your piece.
1. Prepare Your Surface: Dampen a clean ironing board with a thin towel or cloth.
2. Pin Your Weaving: Gently pin your weaving onto the damp surface, ensuring it's straight and conforms to your desired shape.
3. Steam Iron (Optional): If using a steam iron, hover it over the weaving without touching it directly. The steam will relax the fibers and help them set.
4. Allow to Dry Completely: Let your woven piece dry completely before removing the pins. This step ensures your piece holds its new shape.
The Importance of Finishing in Women's Fashion
Finishing a woven piece is particularly significant in the realm of women's fashion. A well-finished textile enhances the overall quality and aesthetic appeal of a garment. Whether creating a shawl, a scarf, or a unique fabric for a dress, the finishing process ensures longevity and elevates the piece from handmade to high fashion. It’s the detail that truly sets a piece apart.
Troubleshooting Common Problems and Solutions
Uneven Edges: Carefully straighten and even the edges of your woven piece before starting the finishing process. Use a ruler and scissors to carefully trim.
Fraying: Reinforce edges with fray check, fabric glue, or a secure stitch.
Looseness: Tension your warp threads properly during the weaving process and block the finished piece to set it.
Conclusion: Enjoy Your Perfectly Finished Weaving!
Finishing your weaving on a loom is a critical stage, transforming a beautiful, but unfinished, work into a professional and durable textile. By understanding and implementing these techniques—from carefully cutting and removing the warp threads, weaving in ends, sealing edges, and blocking—you'll gain the expertise to create stunning pieces that stand the test of time. Remember, the effort you put into the finishing process is a testament to your dedication and will ultimately enhance the value and beauty of your woven creations. So, embrace these techniques, experiment with different finishes, and revel in the joy of completing your woven masterpieces! Your woven creations will be a lasting testament to your creativity and craftsmanship, ready to be worn, displayed, and cherished for years to come. Happy weaving!


